Removing the ball top, shaft cover and dustwasher @ 4m10s
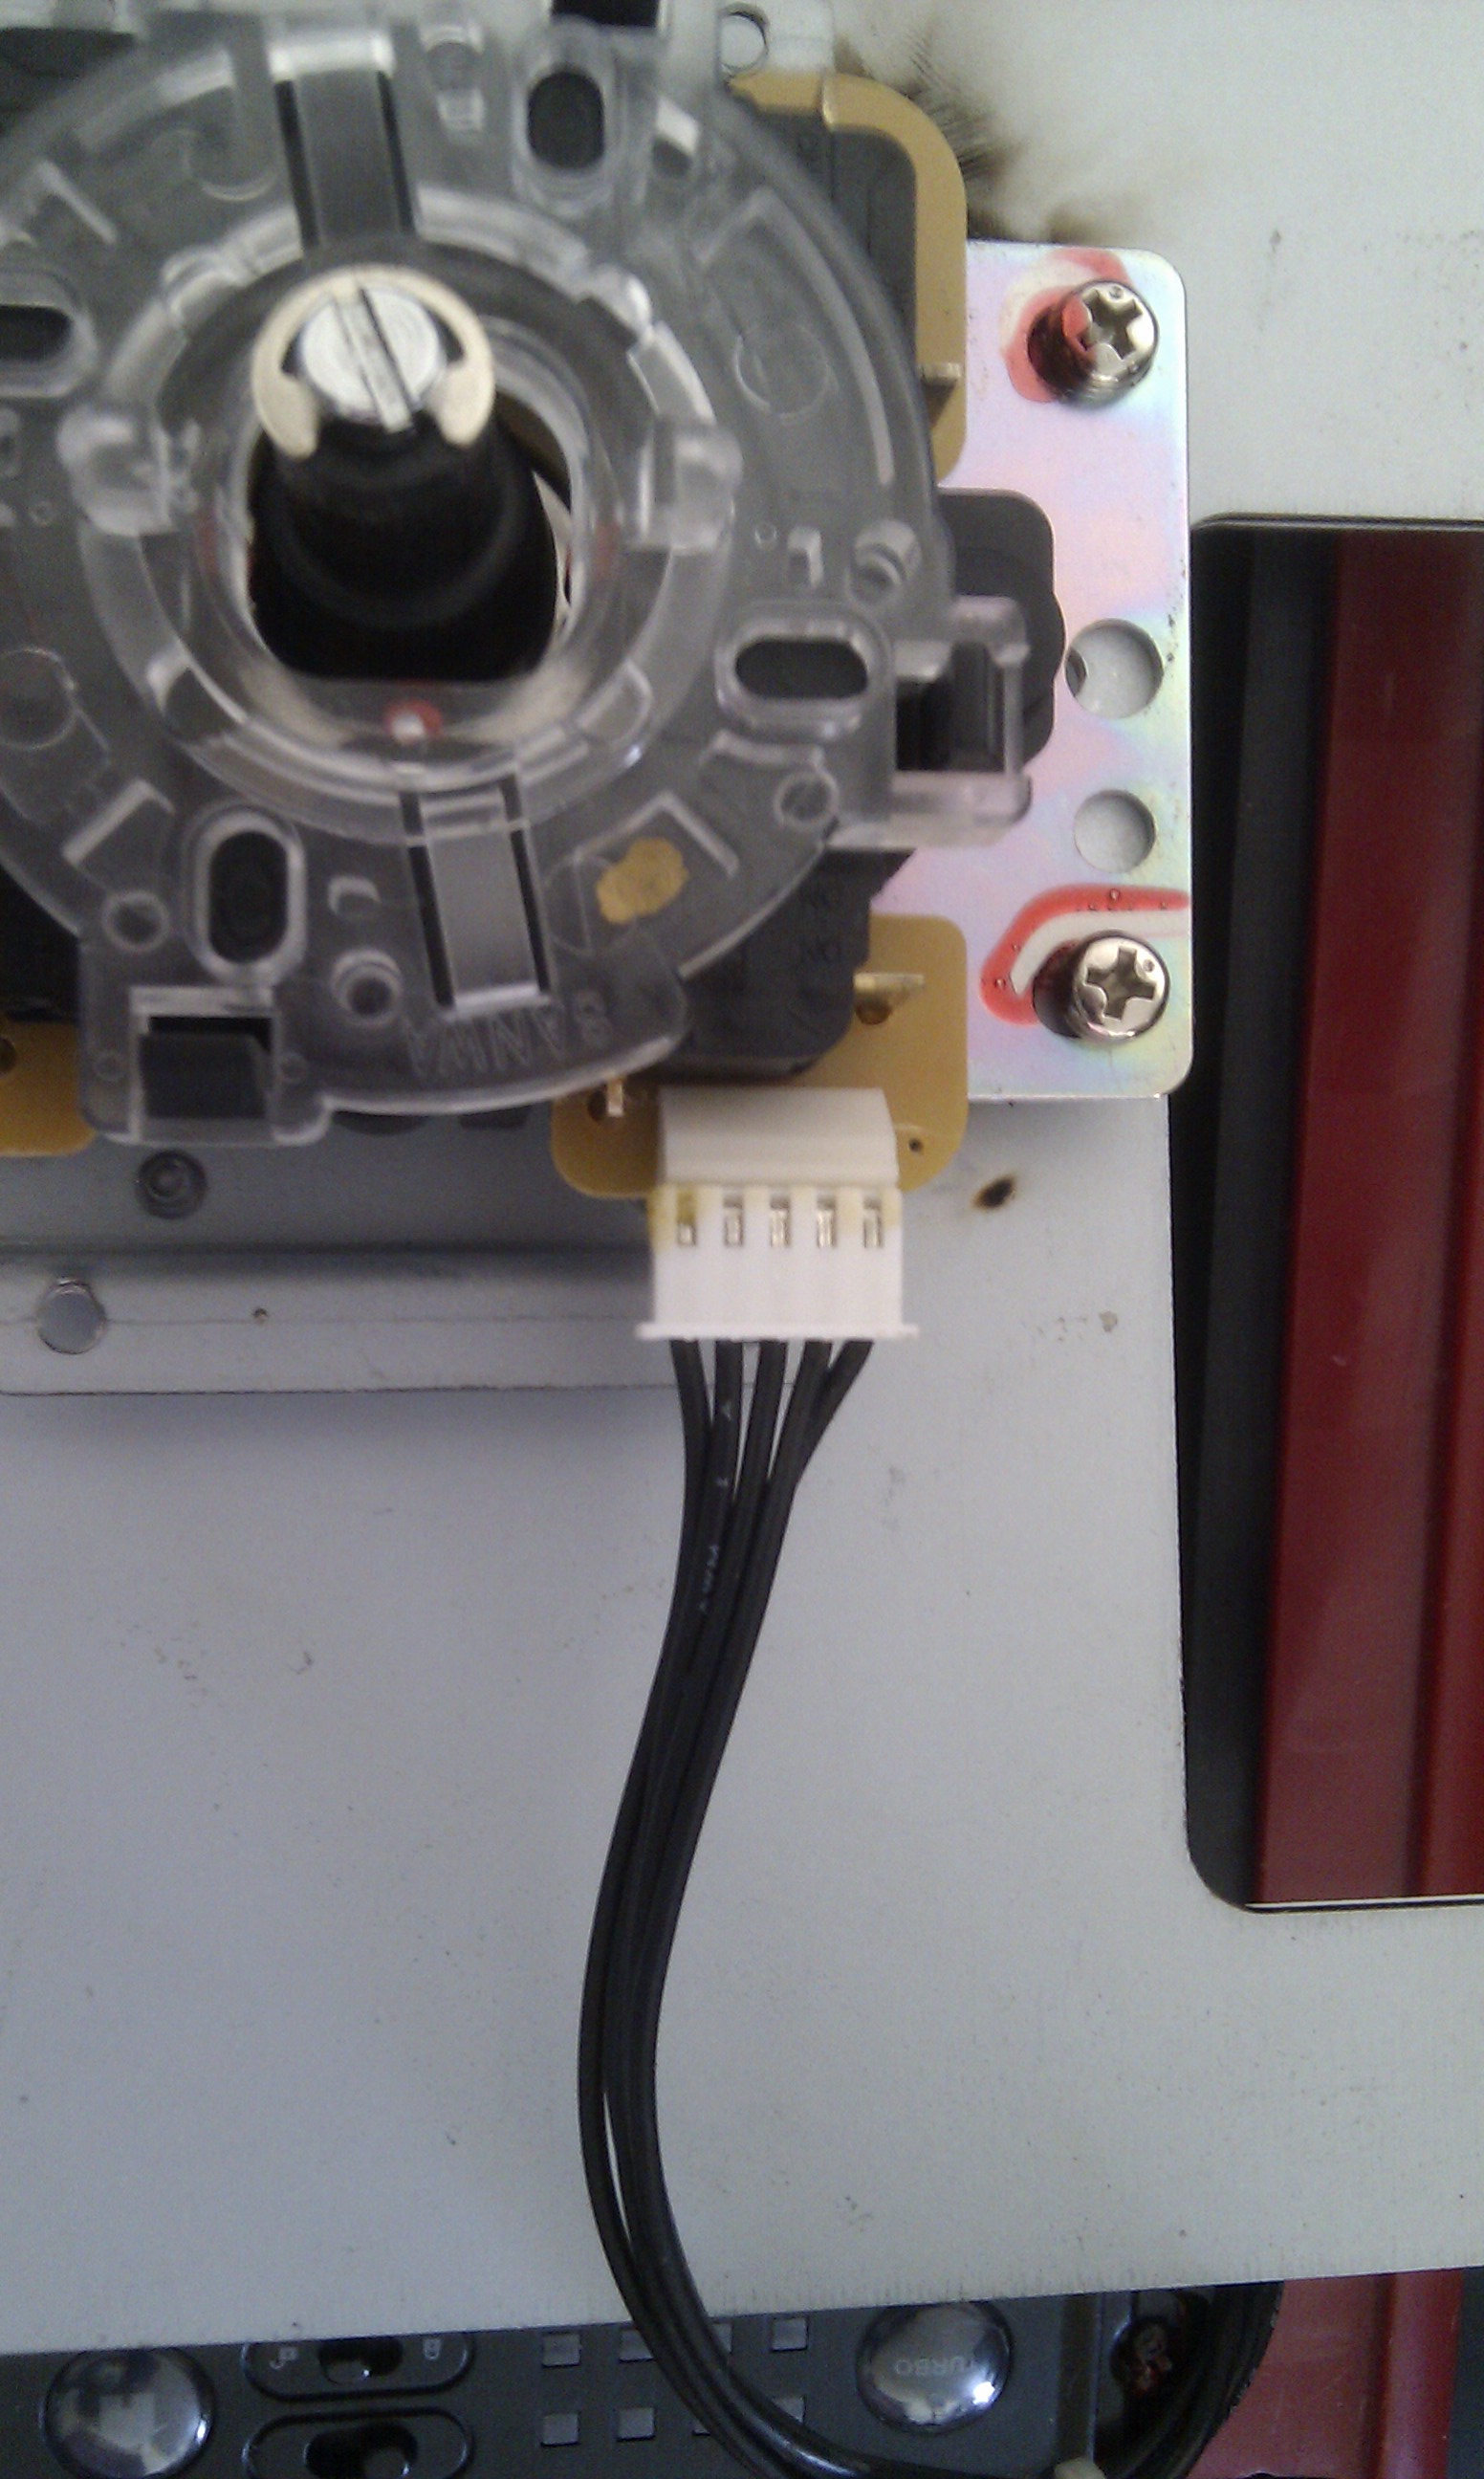
Disconnecting the cable @ 5m50s
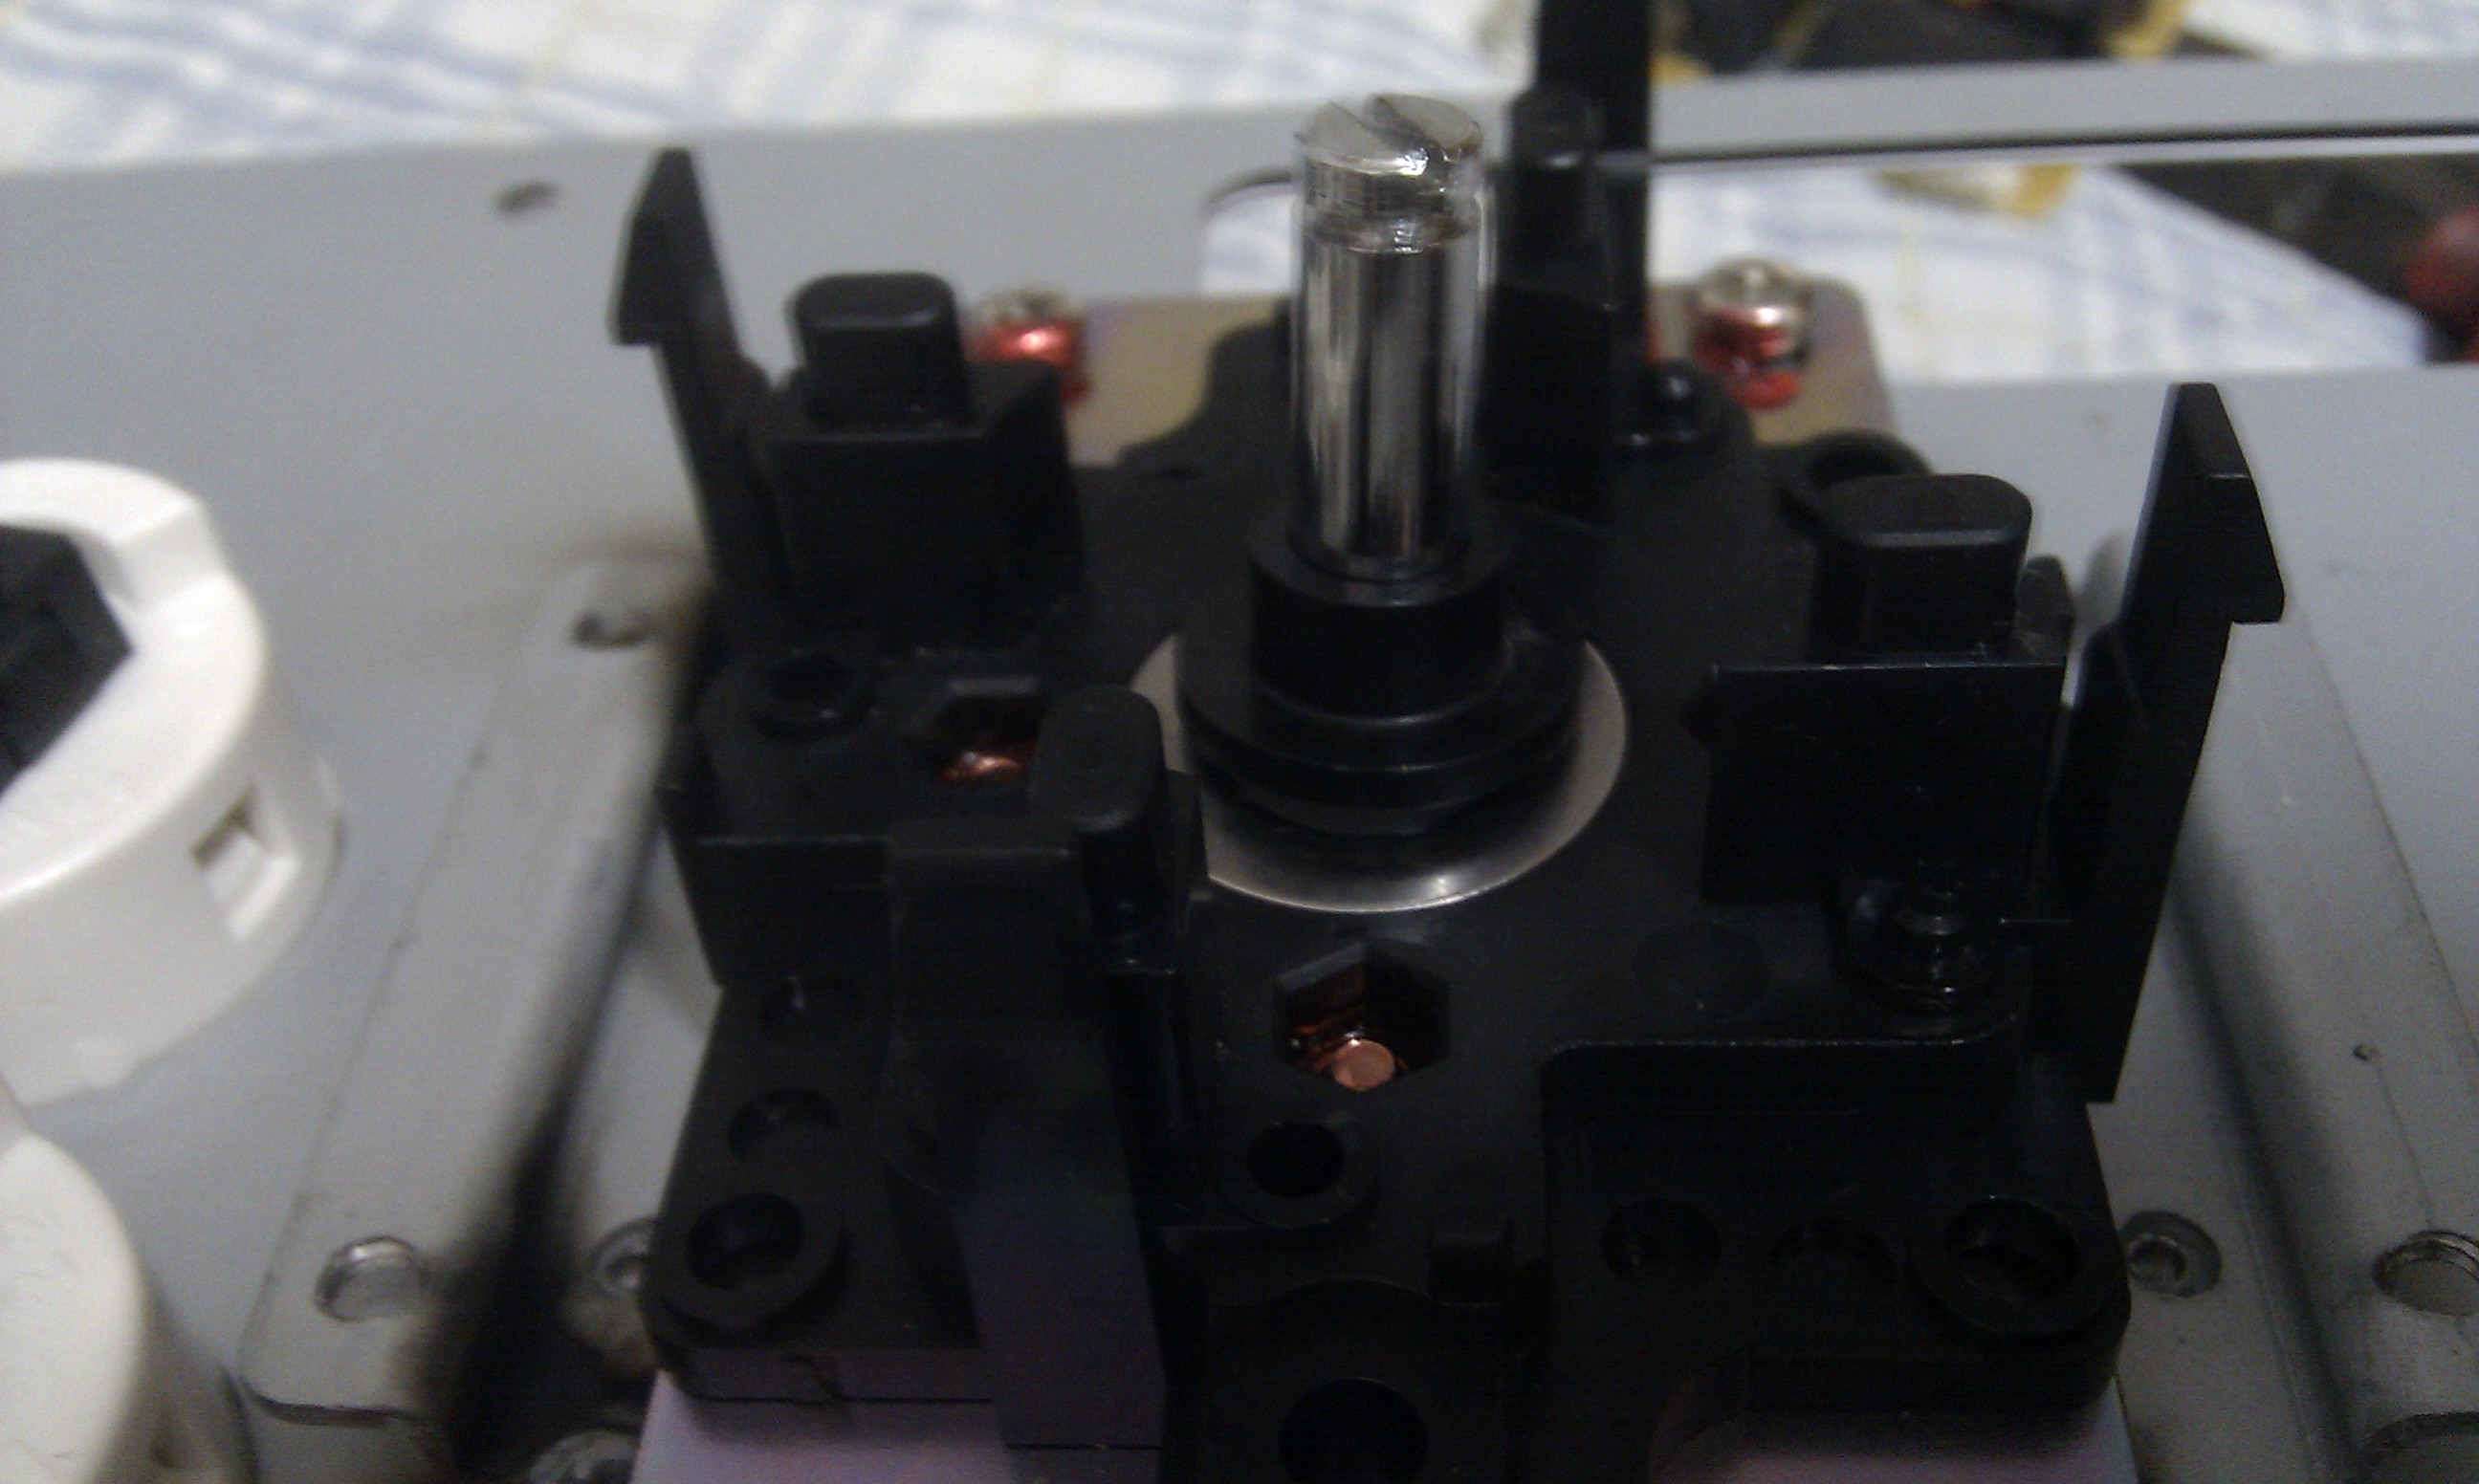
Remove the restrictor plate @ 5m53s
The PCB connector is pointed away from the buttons
Remove the Sanwa JLF-E “E-Clip”, Sanwa JLF-P-5 Actuator, Sanwa JLF-SP Spring
Reassemble
If you need to order the JFL parts from Lizard Lick, here is what’s used inside
Left column: Samwa LB-35 Ball Top, Sanwa JLF-CD Shaft Cover Kit. Center column: Sanwa JLF-P-4 Pivot Cylinder, Sanwa JL-PP1 Dustwasher. Right column: Sanwa JLF-MW Metal Washer, Sanwa JLF-P-6 Spring Cover, Sanwa JLF-SP Spring, Sanwa JLF-P-5 Actuator


Between the joystick and top panel
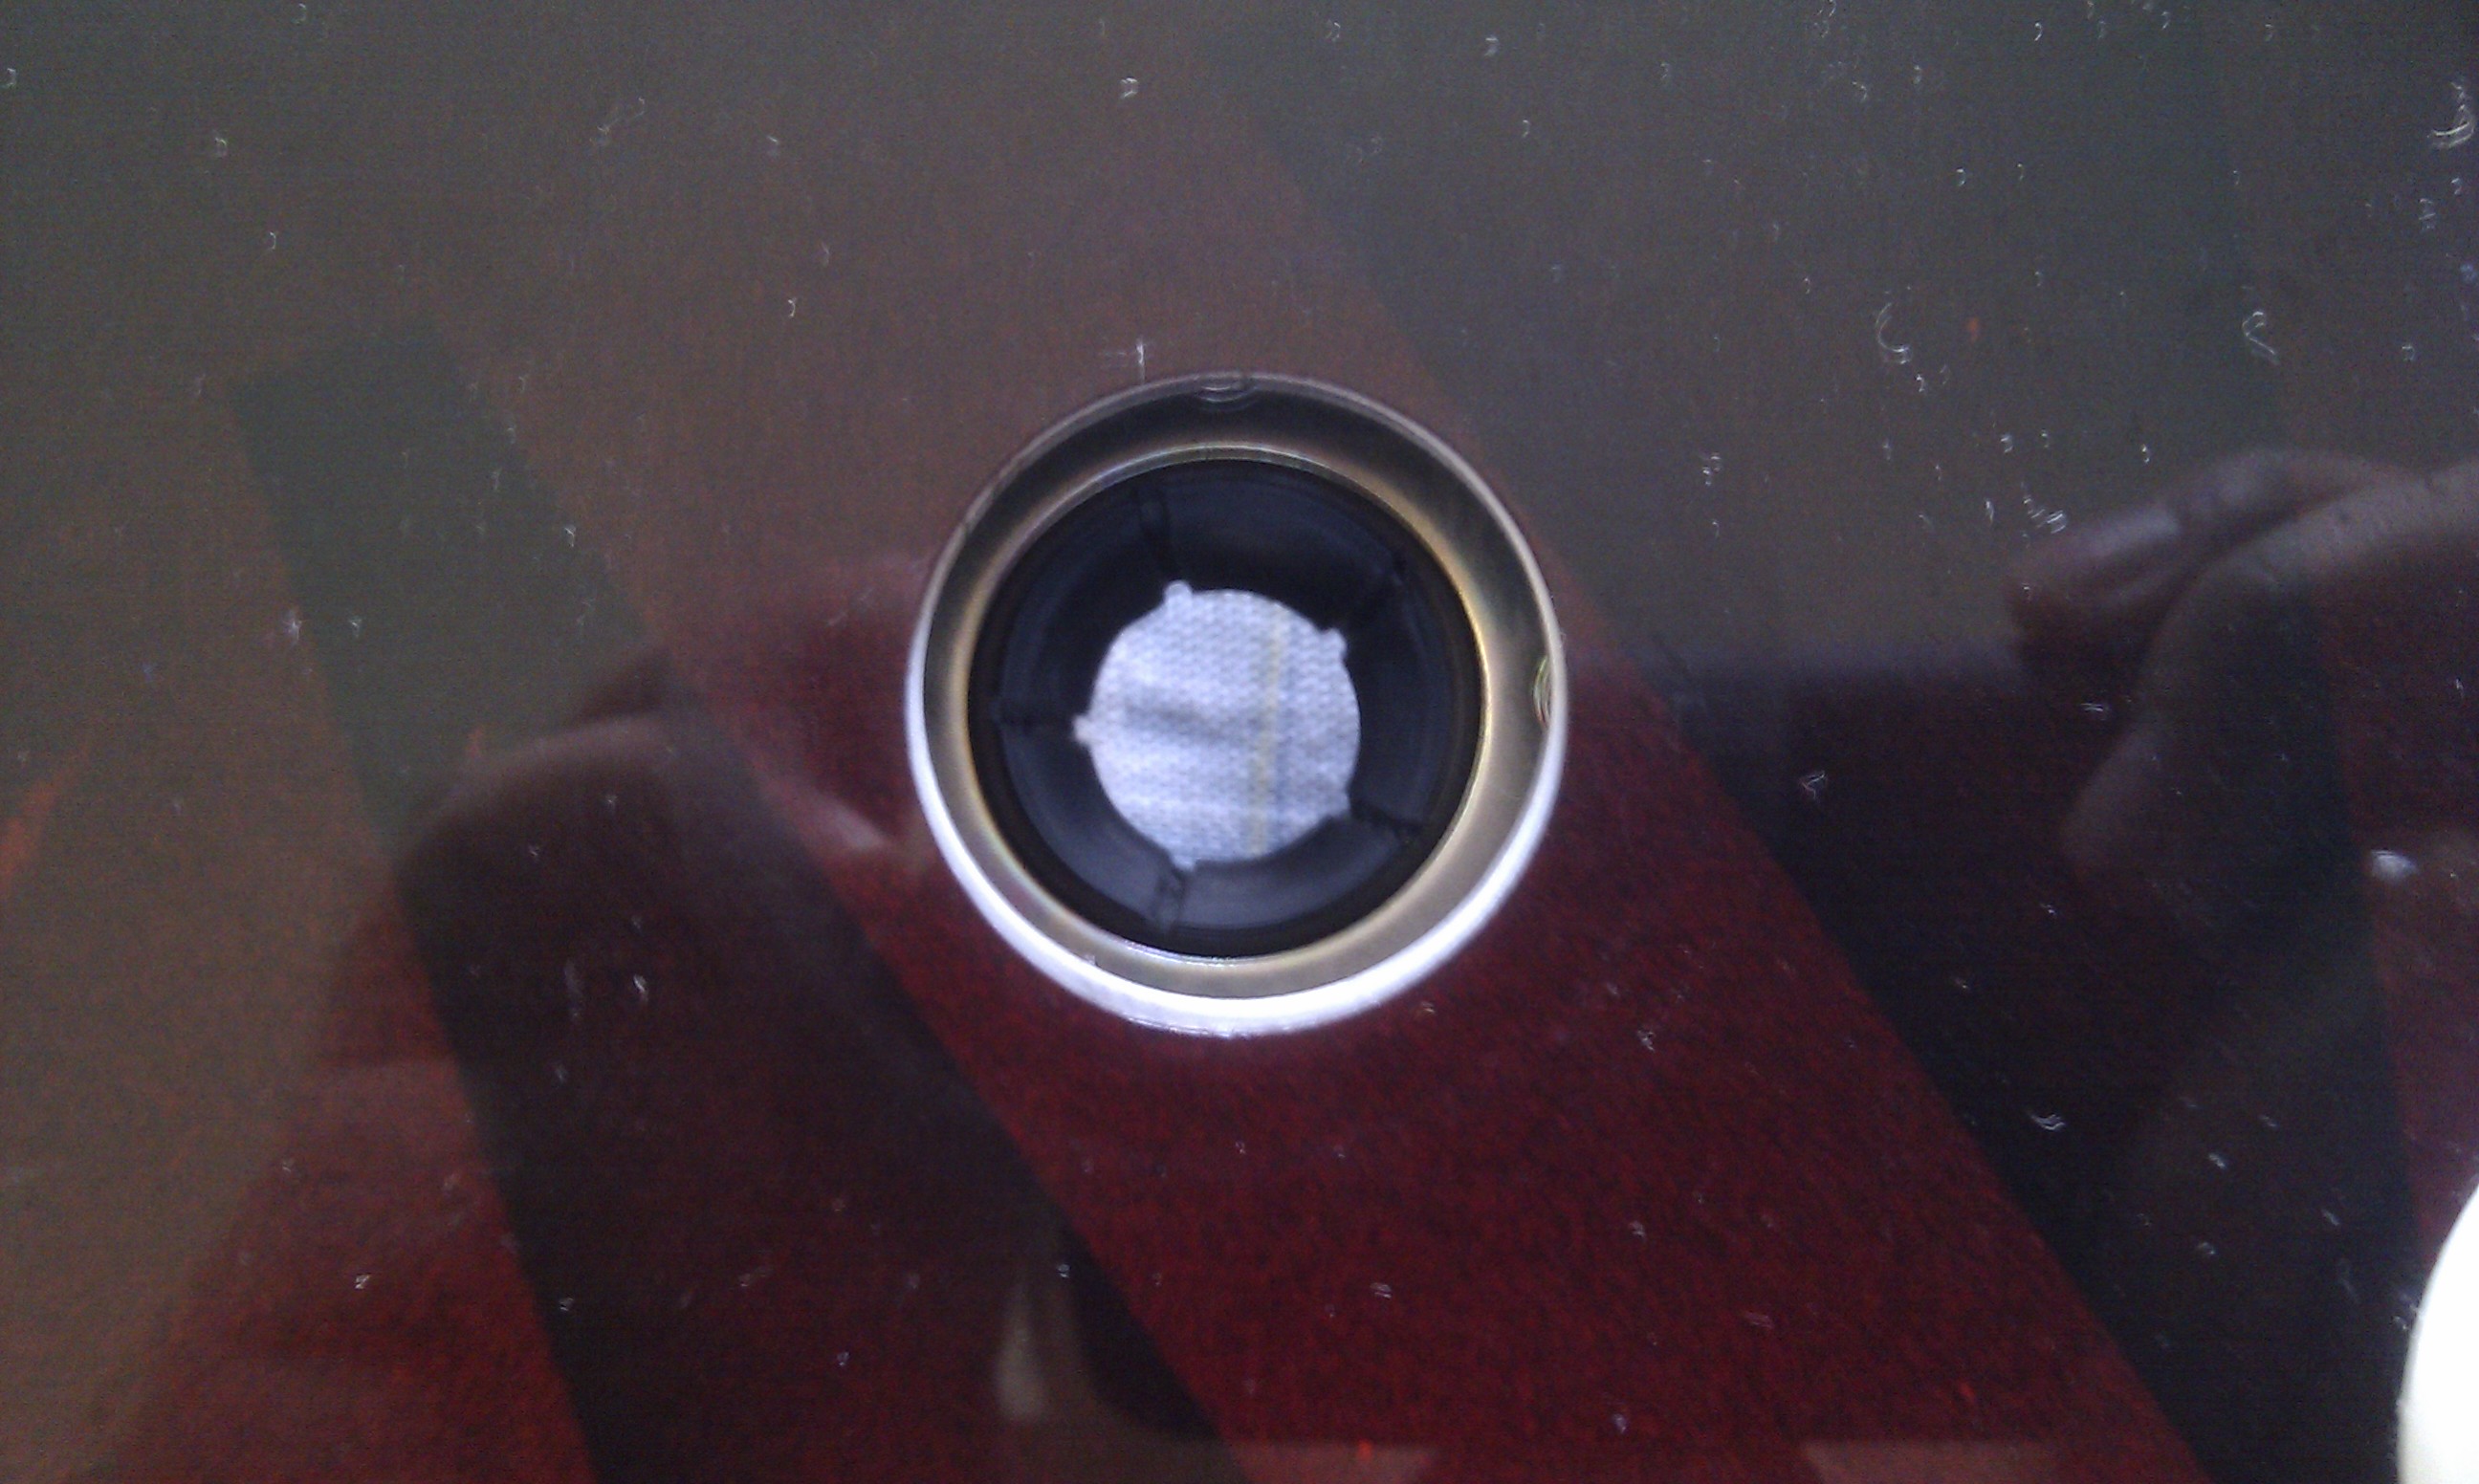
Between the joystick and top panel goes the pivot cilinder
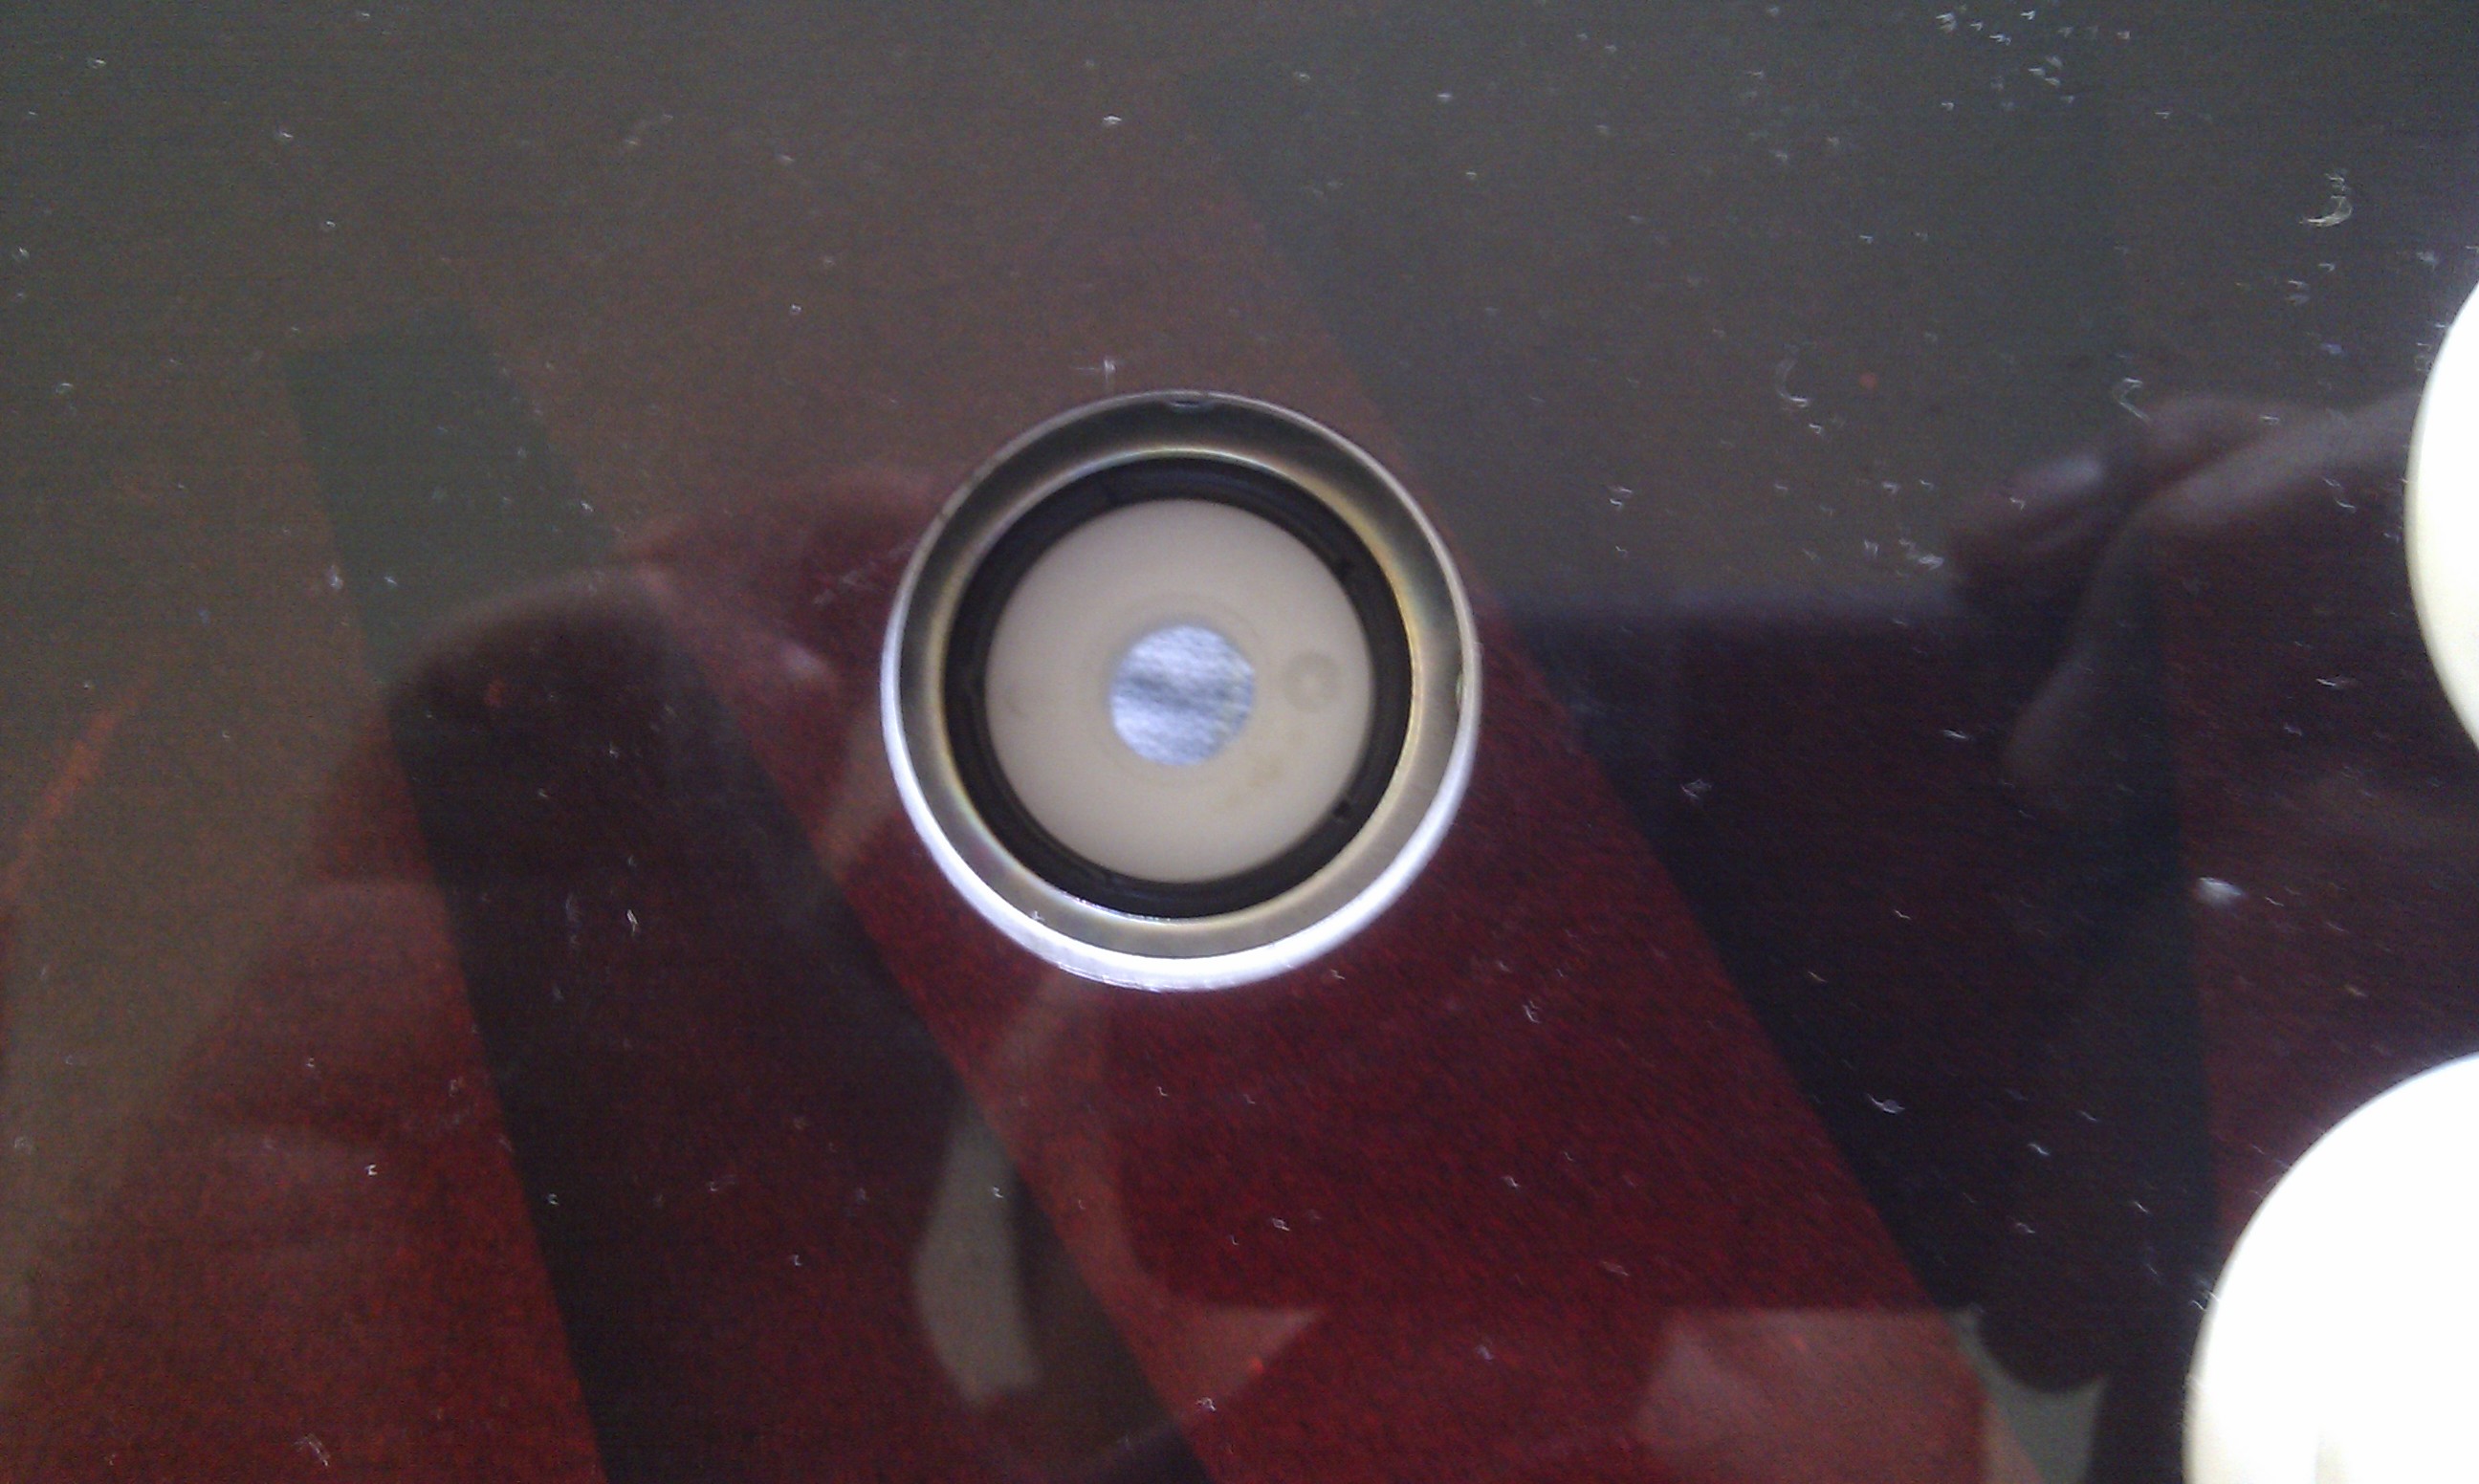
Put another dustwasher between the joystick and top panel

Joystick

Joystick with Metal Washer

Joystick with Metal Washer and Spring Cover
Joystick with Metal Washer, Spring Cover, Spring and Actuator

When you connect the cable to the 5 pin connector, make sure that the rails are facing up (away from the top panel)

You must be logged in to post a comment.